How To Install New High Frequency Welding Machine

1.Open all the box(plywood machine package boxes and paper boxes)

  •   1).make sure machine is safe in the plywood package box without any crash and destroy.
  •   2).The the part inside the paper box is safe too. Make sure they are totally arrive and take a record.
hf machine package

 We package anti-spark tube,RF lamp,spare part, RF adjustment basic spare part separated for better protection

2.Connect air compressor and air filter of machine by soft tube.

  • This tube is provided by air compressor supplier
  • The soft pipe diameter for our RF machine air filter is 10cm.if you don’t have this soft pipe please let us know before machine delivery. We will send some tube with machine freely
  • Adjust the pressure power at least to be 6kg/cm2

3.Connect power wires of machine with factory supply power breaker

     1). For 3phase 400v/380v/220v power machine, there are wires need to connect.

     We distinguish the wire by different colors.

  • (blue/green/red color are fire wires,they are a little big.)
  • (Wire of yellow is for earth line,Wire of grown color is for null line. There are a little small)
  • Please connect these fires wire with your factory power break and fasten.
  • If your factory prefer aviation plug, it is also suitable for our machine.
voltage power supply
    2).Turn on Three power controls

      Turn on factory power supply breaker; major power control of machine; power control switch on panel.

power control
     3).Check the power indicator light and hear the fan.
  • If the wires connection is right, the indicator lights and fan both work

            Start to make the basic action test of machine

  • If the wires connection is wrong, the indicator lights don’t work, But fan work.

           (turn off panel power&turn off major power control &factory power, reconnect fire wires by different order)

     4).Test machine basic action

control panelCheck and familiar

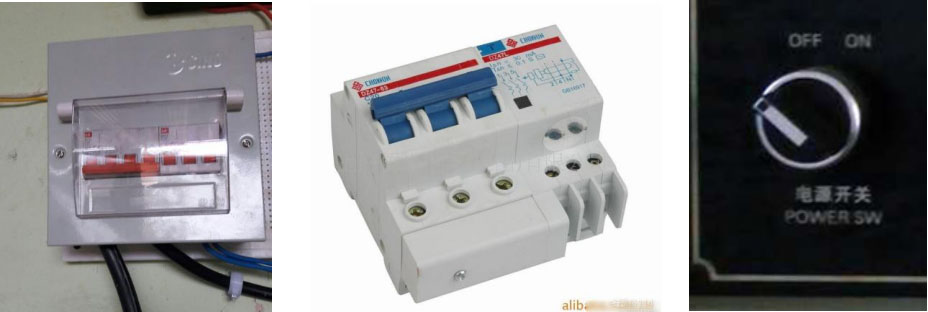
  • each button/switch functions
  • on the working manual


Adjust upper and down position limit control spots

  • (1)Press “manual down” green color button, let welding mold touch and press pvc welding material
  • (2)fasten down limited spot, let down sensor just touch down limited spot
  • (3)Press “manual up” red color button, let welding mold go up to the suitable position
  • (4)fasten upper limited spot, let up sensor just touch down limited spot

Adjust mold horizontal adjusting screws and make mold can touch and press table well

Install control pedal. And make a test the moving action.

Install laser lights and adjust lights to make it point to welding area margi

    5).Install key parts

  •   Turn off power switch on panel &major power of machine & factory voltage power breaker
  •   Open covers and find out the positions for install RF lamp and anti-spark tube
install anti-spark tube
install RF lamp
  •    Install high frequency lamp.(fasten three screws and don’t let them touch each other)

  •    Install anti-spark protecting tube. (don’t forget to cover the cap)
anti-spark tube(1)
  •    Turn on factory power switch, major power switch and power switch on the panel.

  •    Check whether the RF lamp and Anti-spark tube work normal or not.

        Install high frequency   

       current adjustment part

current adjustment part